Your reverse osmosis system worked perfectly for months. Now it produces slow, bad-tasting water that barely fills a glass. You need answers fast before calling expensive repair services.
Most RO system problems stem from clogged filters, membrane fouling, or simple pressure issues you can diagnose and fix yourself. This troubleshooting guide covers 15 common problems with step-by-step solutions that save hundreds in service calls.
I have diagnosed and repaired thousands of RO systems over 15 years. Most problems follow predictable patterns that you can identify and solve without special tools or technical training.
How to Diagnose RO System Problems Like a Professional?
Systematic diagnosis saves time and prevents unnecessary repairs. Professional technicians follow specific steps to isolate problems quickly and accurately.
Start with water pressure and flow rate measurements, then check filter condition and age. Most RO problems trace back to inadequate pressure, clogged filters, or worn membranes that create cascading performance issues.
Essential Diagnostic Tools You Need
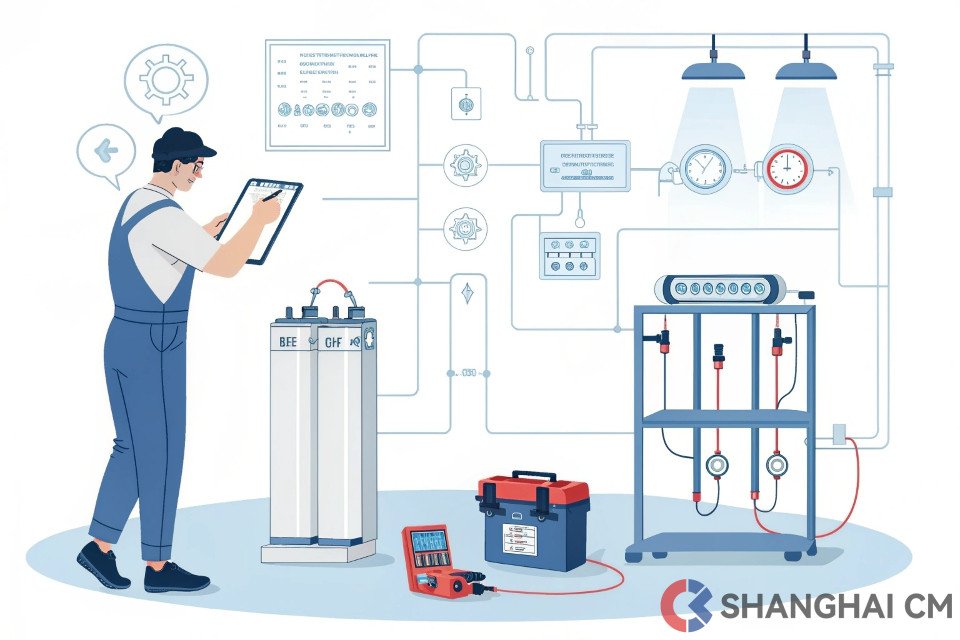
Basic RO troubleshooting requires only simple tools that most homeowners already own. A pressure gauge, TDS meter, and measuring cup provide enough information to diagnose 90% of common problems.
Pressure gauges cost $15-25 and connect to any RO system fitting. TDS meters measure dissolved solids for $10-20 online. These tools pay for themselves by preventing one unnecessary service call.
The 5-Minute Quick Assessment
Before diving into complex diagnostics, perform this quick assessment that identifies obvious problems immediately:
Check storage tank pressure with system off - should be 7-8 PSI. Measure feed water pressure at kitchen faucet - needs 40+ PSI for proper operation. Time how long it takes to fill an 8-ounce glass - should be under 30 seconds with full tank.
Look for visible leaks under the sink, check filter installation dates, and taste the water for obvious odors or flavors. This quick check eliminates simple problems before detailed troubleshooting.
Problem 1: Dramatically Reduced Water Flow Rate
Slow water production frustrates users more than any other RO issue. Multiple causes create similar symptoms requiring systematic elimination to identify the root problem.
Reduced flow typically results from clogged pre-filters, fouled RO membrane, low feed pressure, or restricted drain line. Check these components in order of likelihood to restore normal flow rates.
Step-by-Step Flow Rate Diagnosis
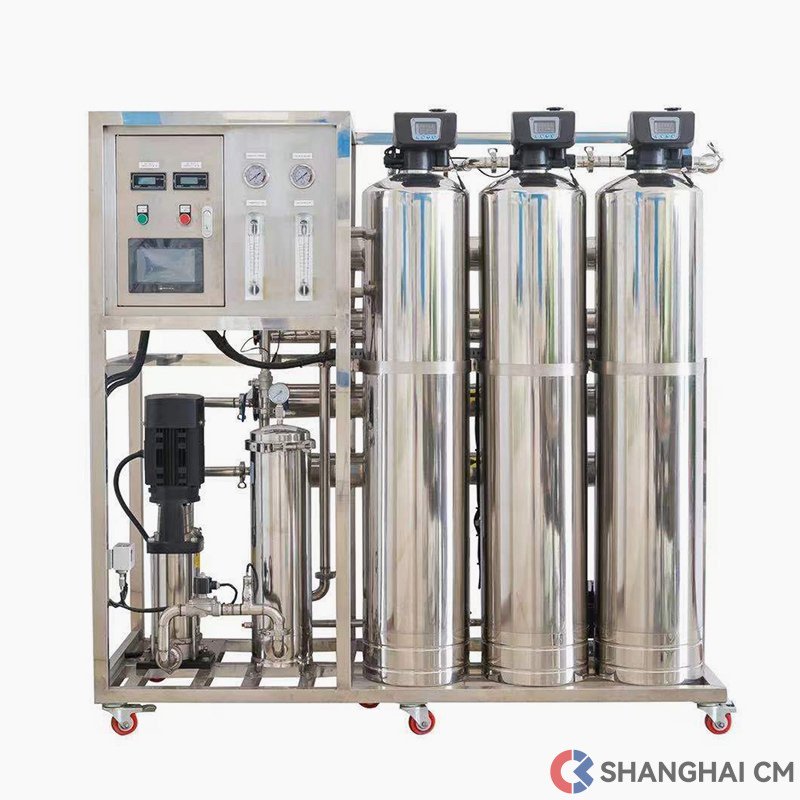
Start by checking your storage tank pressure. Turn off the feed water valve and open the RO faucet to drain the tank completely. Use a tire pressure gauge on the tank's air valve - it should read 7-8 PSI. Low pressure prevents proper water delivery even when the system works correctly.
Next, measure feed water pressure at your kitchen sink with a pressure gauge. RO systems need minimum 40 PSI to function properly. Pressure below 35 PSI causes slow production and poor rejection rates that mimic other problems.
Replace pre-filters if they are over 6 months old or visibly dirty. Sediment and carbon filters clog gradually, reducing flow rates so slowly that users do not notice the decline until performance becomes unacceptable.
When the Problem Is Your RO Membrane
If pressure and filters check out fine, your RO membrane likely needs replacement. Membranes last 2-3 years under normal conditions but degrade faster with poor pre-filtration or high TDS feed water.
Remove the membrane and inspect it for visible fouling, scaling, or damage. Brown or black deposits indicate biological fouling. White crusty buildup shows mineral scaling. Replace membranes showing either condition.
Quick Fix vs. Full Repair
Temporary flow improvement sometimes comes from flushing the system thoroughly. Run the RO faucet for 10-15 minutes to clear accumulated sediment. This buys time for proper repairs but does not solve underlying problems permanently.
Problem 2: Strange Taste or Odor in RO Water
Clean RO water should taste neutral with no detectable odors. Off-flavors indicate contamination, bacterial growth, or system component failure requiring immediate attention.
Chlorine taste means carbon filter failure, while musty odors suggest bacterial contamination in storage tanks or lines. Metallic flavors often indicate membrane damage allowing dissolved metals through.
Identifying Taste and Odor Sources
Chlorine taste or smell indicates your carbon pre-filter has reached capacity and no longer removes feed water chlorine. This exposes the RO membrane to chlorine damage that reduces rejection and shortens membrane life dramatically.
Musty, earthy, or rotten egg odors suggest bacterial growth in your storage tank or delivery lines. This happens when sanitization lapses or when tanks sit unused for extended periods allowing bacteria to establish colonies.
Metallic or bitter flavors often mean membrane failure that allows dissolved metals, salts, or other contaminants through the membrane barrier. Check TDS levels to confirm membrane integrity.
Systematic Taste Problem Elimination
Replace carbon filters first since they are inexpensive and commonly cause taste problems. New carbon filters should eliminate chlorine tastes within 24 hours of installation.
If taste problems persist, sanitize your entire system with food-grade hydrogen peroxide or chlorine solution. Follow manufacturer instructions exactly to avoid membrane damage from excessive sanitizer concentrations.
Test water at different points in your system to isolate contamination sources. Sample water directly from the membrane housing, then from the storage tank, finally from the delivery faucet. This pinpoints whether problems occur during treatment, storage, or delivery.
Emergency Taste Problem Solutions
When taste problems develop suddenly, bypass your storage tank temporarily by running water directly from the membrane housing. If this tastes normal, your tank needs sanitization. If direct membrane water tastes bad, replace the membrane immediately.
Flush your system thoroughly before using treated water. Run the faucet until you have discarded 2-3 tank volumes to clear contaminated water from all components.
Problem 3: Visible Leaks and Water Damage Prevention
RO system leaks cause expensive water damage if not addressed quickly. Most leaks develop at fitting connections, filter housings, or tank connections that you can repair easily.
Check all fittings, housing seals, and tubing connections systematically. Tighten loose connections first, then replace worn O-rings or damaged tubing. Most leaks fix with simple hand tools and basic replacement parts.

Common Leak Locations and Causes
Filter housing leaks usually occur at O-ring seals that compress over time or get damaged during filter changes. These housings use large O-rings that cost under $5 and install without tools.
Tubing connection leaks develop when plastic fittings loosen from thermal cycling or when tubing hardens and loses flexibility. Push-in fittings sometimes fail when tubing gets pulled or twisted during maintenance.
Storage tank leaks occur at air valve connections, water inlet fittings, or internal bladder failures. External fitting leaks are repairable, but internal bladder damage requires tank replacement.
Professional Leak Detection Techniques
Use food coloring to trace slow leaks that are difficult to locate visually. Add few drops of dark food coloring to areas where you suspect leaks. The coloring will follow water paths and highlight leak sources clearly.
Check for leaks during different operating conditions. Some leaks only appear when the system is producing water, while others show up when tanks are full or during regeneration cycles.
Permanent vs. Temporary Leak Repairs
Teflon tape and pipe dope provide temporary fixes for threaded connection leaks, but proper repairs require replacing worn components. Temporary fixes buy time for obtaining proper parts but should not be considered permanent solutions.
Replace any cracked or damaged tubing completely rather than trying to patch it. Tubing costs pennies per foot and prevents future problems. Patch repairs often fail at the worst possible times.
Problem 4: Understanding Filter Replacement Timing and Indicators
Knowing when to replace filters prevents system damage and maintains water quality. Different filter types have varying replacement schedules based on usage and water conditions.
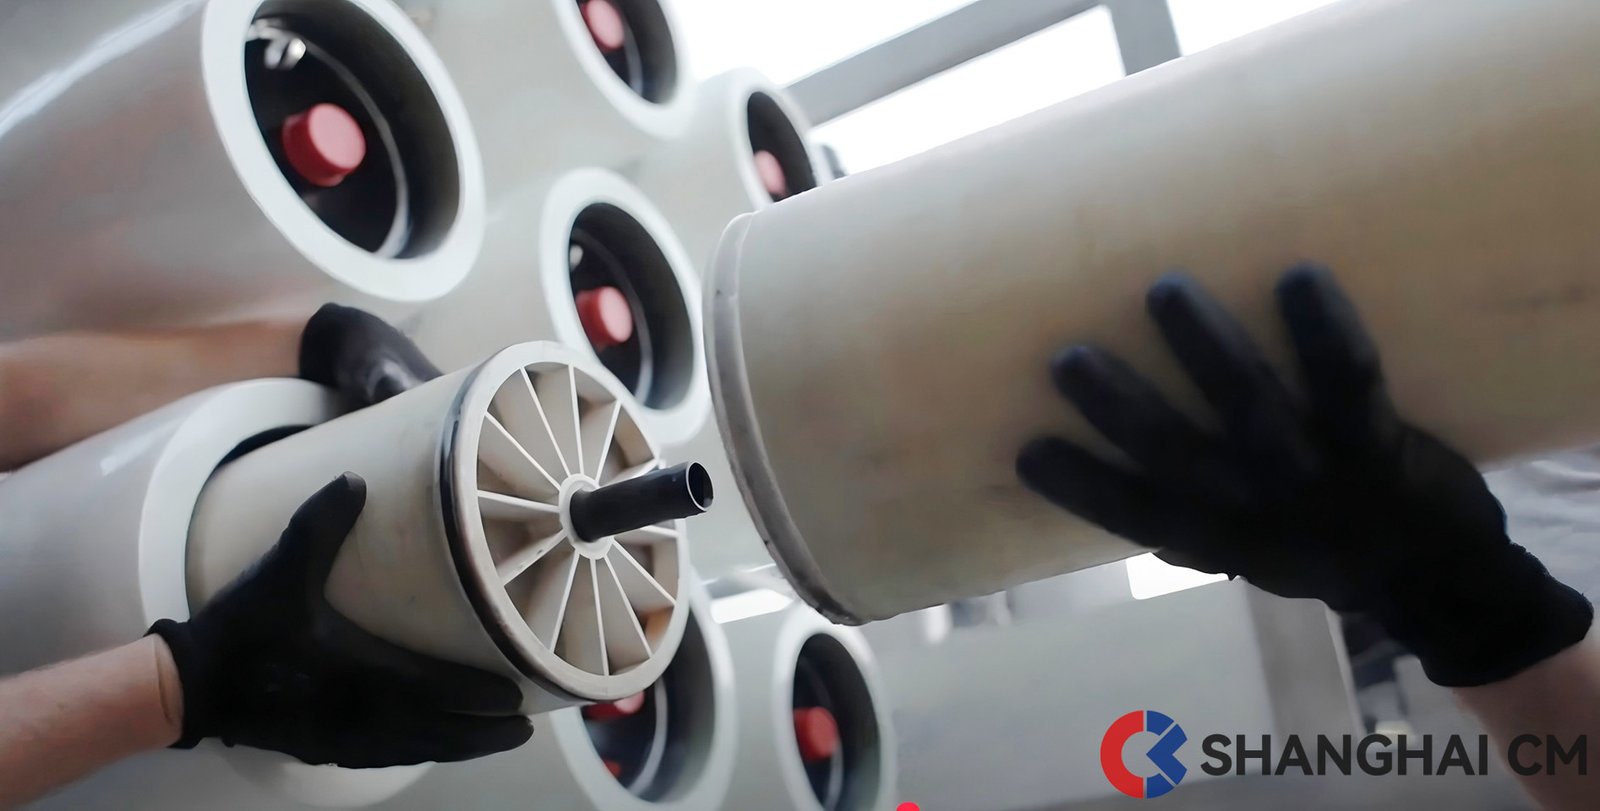
Sediment filters need replacement every 3-6 months, carbon filters every 6-12 months, and RO membranes every 2-3 years. Monitor pressure drop, visual condition, and performance degradation to optimize replacement timing.
Filter-Specific Replacement Indicators
Sediment filters show obvious visual clogging when dirt accumulates on filter surfaces. Replace these filters when they turn brown or gray, or when flow rates drop significantly. Never wait until filters completely block flow.
Carbon filters do not show visual wear indicators. Replace them based on time schedules or when chlorine tastes return to your water. Carbon filter capacity depends on chlorine levels in your feed water.
RO membranes degrade gradually without obvious visual signs. Monitor TDS levels and production rates to determine membrane condition. Replace membranes when TDS levels double or production drops below 75% of original rates.
Advanced Filter Monitoring Techniques
Install pressure gauges before and after filter housings to monitor pressure drop across filters. Clean filters show minimal pressure drop, while clogged filters create significant pressure differences.
Track daily water production volumes to identify gradual performance declines. Production rates drop slowly as filters clog, making changes difficult to notice without systematic monitoring.
Cost-Effective Replacement Strategies
Buy filters in bulk during sales to reduce replacement costs. Quality aftermarket filters often perform as well as OEM parts at 50-70% lower cost. Stock one complete filter set to enable immediate replacement when problems develop.
Replace multiple filters simultaneously to minimize labor and system downtime. This approach also synchronizes replacement schedules for easier tracking and bulk purchasing.
Problem 5: High Total Dissolved Solids in Treated Water
High TDS in RO water indicates membrane failure or system bypassing that allows untreated water to mix with treated water. This problem requires immediate attention to prevent health risks.
TDS levels above 50 PPM in RO water suggest membrane damage, improper installation, or system bypassing. Check membrane housing seals, fitting connections, and membrane condition to restore proper rejection rates.
TDS Testing and Interpretation
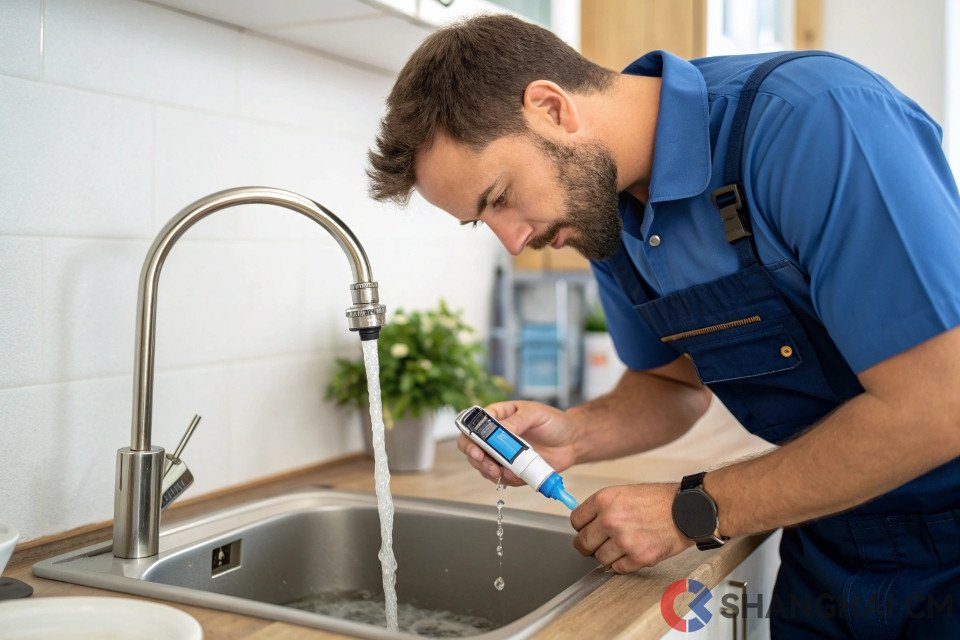
Test TDS at multiple system points to isolate problems. Compare feed water, membrane outlet, and final product water TDS levels. Large differences between membrane outlet and final product suggest mixing or bypassing issues.
Normal RO systems should reduce TDS by 95-98%. Feed water with 300 TDS should produce treated water with 6-15 TDS. Higher levels indicate system problems requiring immediate correction.
Membrane Integrity Testing
Remove and inspect RO membranes for visible damage, scaling, or fouling. Damaged membranes cannot be repaired and must be replaced completely. Clean membranes may restore performance if damage is minimal.
Check membrane housing O-rings and seals for proper installation and condition. Damaged seals allow untreated water to bypass the membrane, creating high TDS readings that mimic membrane failure.
System Bypassing Diagnosis
Trace all water connections to ensure proper routing through treatment components. Incorrectly connected systems may bypass filters or membranes partially, allowing untreated water to contaminate treated water.
Check for cross-connections between feed and product water lines that could allow mixing. These connections sometimes develop during installation errors or unauthorized modifications.
Problem 6: Noisy System Operation and Pump Issues
Unusual noises indicate mechanical problems that can damage system components or disrupt household peace. Different sounds suggest specific component failures requiring targeted repairs.
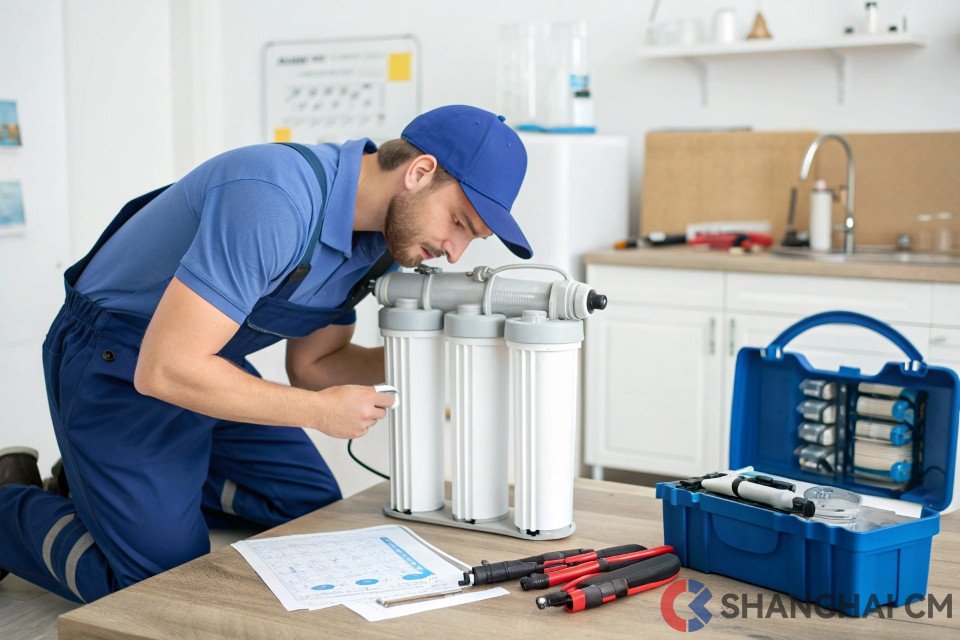
Grinding, squealing, or rattling noises usually indicate pump problems, while gurgling or bubbling sounds suggest air in the system. Address mechanical noises immediately to prevent expensive component damage.
Identifying Noise Sources and Meanings
Continuous high-pitched squealing indicates pump bearing failure or motor problems. These pumps require immediate replacement to prevent complete system shutdown and possible water damage from pump housing failures.
Intermittent gurgling or bubbling sounds suggest air in the system or drain line restrictions. These noises are annoying but rarely indicate serious mechanical problems requiring expensive repairs.
Grinding or scraping noises indicate pump impeller damage or debris in pump housings. Stop using the system immediately and inspect pump components for damage or blockages.
Pump Diagnosis and Repair Decisions
Check pump motor current draw with a clamp-on ammeter if available. Motors drawing excessive current indicate mechanical binding or electrical problems requiring professional repair or replacement.
Listen to pump operation during different system cycles. Pumps should run quietly during production and shut off completely when tanks reach capacity. Continuous running indicates control problems.
Problem 7: Storage Tank Problems and Pressure Issues
Storage tanks maintain water pressure and provide capacity for peak usage. Tank problems create pressure and flow issues that affect system performance significantly.
Tank bladder failure, incorrect air pressure, or waterlogged conditions prevent proper water delivery. Check air pressure, test for waterlogging, and replace tanks when internal components fail.

Tank Pressure Testing and Adjustment
Proper tank air pressure is crucial for system operation. With the tank empty, air pressure should be 7-8 PSI. Higher pressure prevents complete tank filling, while lower pressure reduces delivery pressure and flow rates.
Use a standard tire pressure gauge on the tank's air valve to check pressure. Add air with a bicycle pump or compressor if pressure is low. Never exceed 10 PSI as this can damage tank components.
Identifying Waterlogged Tanks
Waterlogged tanks feel heavy even when supposedly empty and deliver only small amounts of water before pressure drops. This condition occurs when internal bladders rupture and allow water into air chambers.
Test for waterlogging by draining the tank completely through the RO faucet, then pressing the tank air valve. Water discharge from the air valve indicates bladder failure requiring tank replacement.
Tank Replacement vs. Repair
Tank bladders cannot be repaired and require complete tank replacement when they fail. Tank replacement costs $50-150 while professional repair attempts often cost more than new tanks.
Consider upgrading tank capacity during replacement if your current tank does not meet usage needs. Larger tanks provide better pressure stability and reduce pump cycling frequency.
Problem 8: Drain Line Problems and Overflow Issues
Proper drain line installation prevents water damage and ensures system efficiency. Drain problems create backpressure that reduces system performance and may cause flooding.
Restricted drain lines increase system backpressure and reduce production rates. Check for clogs, proper slope, and adequate drain capacity to maintain system efficiency.
Drain Line Inspection and Testing
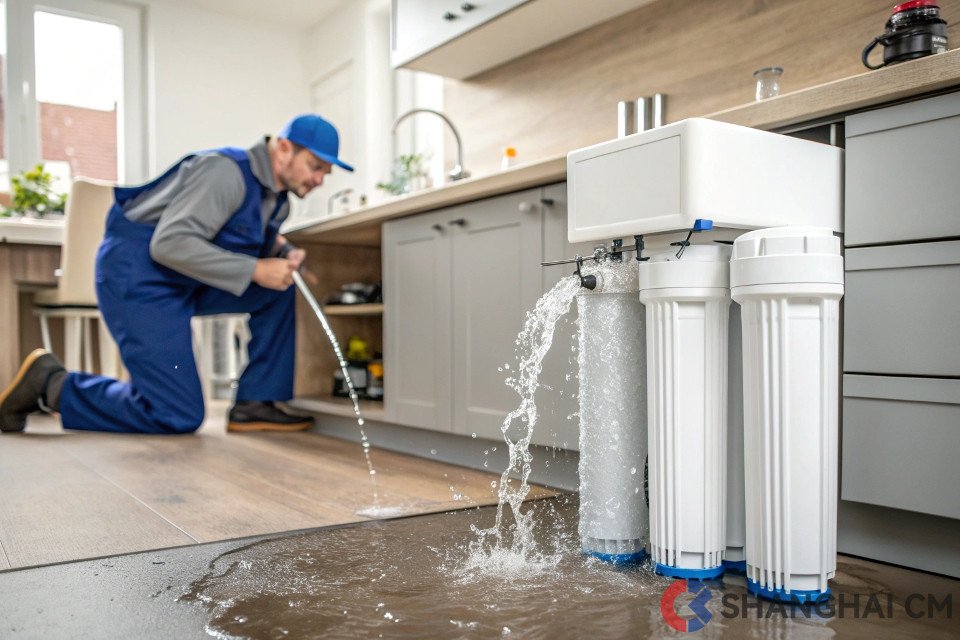
Visually inspect drain lines for kinks, clogs, or improper installation. Drain lines should slope continuously toward the drain connection without low points that could trap water or debris.
Test drain flow by disconnecting the line at the system and running water through it. Free-flowing lines indicate proper installation, while restricted flow suggests clogs or installation problems.
Backpressure Impact on System Performance
Excessive drain line backpressure forces the system to work harder and reduces water production rates. Backpressure above 10 PSI significantly impacts system efficiency and membrane life.
Install a drain line restrictor if your system lacks one. These inexpensive devices maintain proper pressure relationships between system components and optimize efficiency.
Problem 9: Automatic Shut-Off Valve Malfunctions
Automatic shut-off valves prevent system overflow and regulate production cycles. Valve failures cause continuous water production, tank overflow, or complete system shutdown.
Stuck shut-off valves prevent tank filling or cause continuous drain flow. Clean valve components, check tubing connections, and replace valves when internal seals fail.

Shut-Off Valve Operation Testing
Test valve operation by monitoring system behavior during tank filling cycles. Valves should close when tanks reach capacity and open when pressure drops during water usage.
Disconnect the valve control tube and observe system operation. If the system shuts off properly without the control tube connected, the tube or tank connection has problems requiring repair.
Valve Cleaning and Repair Procedures
Disassemble shut-off valves carefully and clean all internal components with clean water. Remove sediment buildup and inspect seals for wear or damage that could prevent proper operation.
Replace valve seals if they appear cracked, hardened, or deformed. These small seals cost under $5 but prevent expensive water damage from valve failures. Clean seals with soap and water, never use petroleum products that could damage rubber components.
Test valve operation after reassembly by manually actuating the control mechanism. Valves should move smoothly without binding or excessive force requirements.
Problem 10: Faucet Delivery Issues and Air Gaps
RO faucets and air gap devices prevent contamination while delivering treated water. Component failures create delivery problems and potential health risks from cross-contamination.
Clogged faucet aerators, failed air gap devices, or loose connections create delivery problems. Clean components regularly and replace worn parts to maintain proper water delivery and contamination prevention.

Faucet Flow and Pressure Diagnosis
Remove faucet aerators and screens to check for sediment buildup that restricts flow. Clean these components monthly to maintain optimal flow rates and prevent bacterial growth in stagnant water.
Check faucet connections for loose fittings that could allow air leaks affecting delivery pressure. Tighten connections finger-tight plus one-quarter turn with wrenches to prevent damage.
Air Gap Device Maintenance
Air gap devices prevent siphoning that could contaminate your RO system with drain water. These devices require regular cleaning to prevent clog-induced backups that flood countertops.
Remove air gap caps monthly and clean internal components with bleach solution. Replace caps that crack or warp as these defects compromise contamination prevention.
Problem 11: System Won't Start or Produce Water
Complete system failure prevents water production and requires systematic diagnosis to identify electrical or mechanical causes. Multiple failure points can create similar symptoms.
Check power supply, pump operation, and control system function systematically. Electrical problems, blown fuses, or failed pumps prevent system startup and require component-specific repairs.
Electrical System Diagnosis
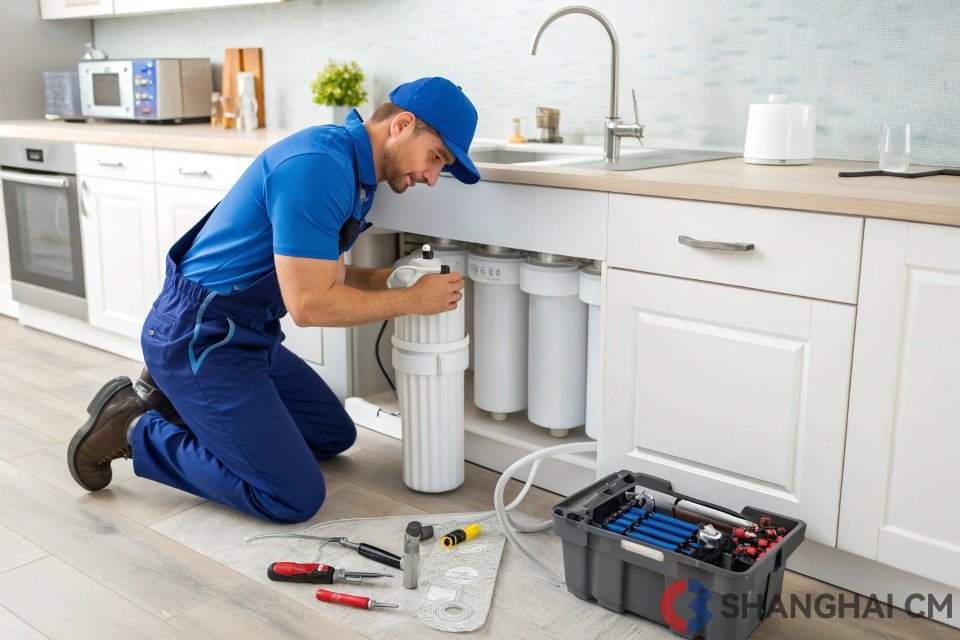
Verify power supply to system pumps and controls using a multimeter or voltage tester. Check circuit breakers and GFCI outlets that may have tripped during power outages or electrical surges.
Test pump motor operation by checking for voltage at motor terminals while observing for mechanical binding or unusual noises that indicate internal damage requiring replacement.
Control System Testing
Many RO systems use pressure switches or electronic controls that regulate pump operation based on tank pressure or flow conditions. Test these components according to manufacturer specifications.
Replace control components when testing reveals failures, but verify proper installation and settings before assuming component defects. Incorrect adjustments mimic component failures frequently.
Problem 12: Excessive Water Waste and Efficiency Issues
High waste water ratios indicate system inefficiency that increases operating costs and environmental impact. Multiple factors affect waste ratios requiring systematic optimization.
Normal RO systems waste 3-4 gallons per gallon produced. Higher ratios suggest membrane fouling, incorrect pressure, or system adjustments that reduce efficiency and increase costs.

Measuring and Interpreting Waste Ratios
Measure waste ratios by collecting product and waste water simultaneously for identical time periods. Calculate ratios by dividing waste volume by product volume to determine system efficiency.
New systems typically achieve 3:1 or 4:1 waste ratios under normal conditions. Ratios exceeding 6:1 indicate problems requiring correction to restore efficiency and reduce operating costs.
Efficiency Optimization Strategies
Install flow restrictors in drain lines to optimize pressure relationships and improve efficiency. These inexpensive devices often improve waste ratios significantly without other system modifications.
Check membrane condition and replace fouled membranes that cannot achieve acceptable rejection rates. Poor membrane performance forces systems to waste more water maintaining acceptable product quality.
Problem 13: Seasonal Performance Variations
Water temperature and quality changes affect RO system performance seasonally. Cold water reduces production rates while seasonal contaminant changes may require system adjustments.
Cold water reduces membrane performance up to 50% compared to room temperature operation. Compensate for seasonal changes through pressure adjustments and modified maintenance schedules.

Temperature Impact Compensation
RO membrane performance decreases approximately 3% per degree Fahrenheit below 77°F. Winter water temperatures may reduce production 30-40% compared to summer performance levels.
Consider installing insulation around system components to minimize temperature impacts. Some users install small heaters to maintain optimal operating temperatures during cold seasons.
Seasonal Maintenance Adjustments
Increase filter replacement frequency during seasons with higher sediment loads from agricultural runoff or construction activities. Monitor system performance more closely during these periods.
Adjust chemical sanitization schedules based on seasonal bacterial growth patterns. Warmer months may require more frequent sanitization to prevent biological contamination.
Problem 14: Chemical Contamination and Specialized Filtration Needs
Standard RO systems handle most dissolved contaminants but may require specialized components for chemical removal or specific contamination issues requiring targeted solutions.
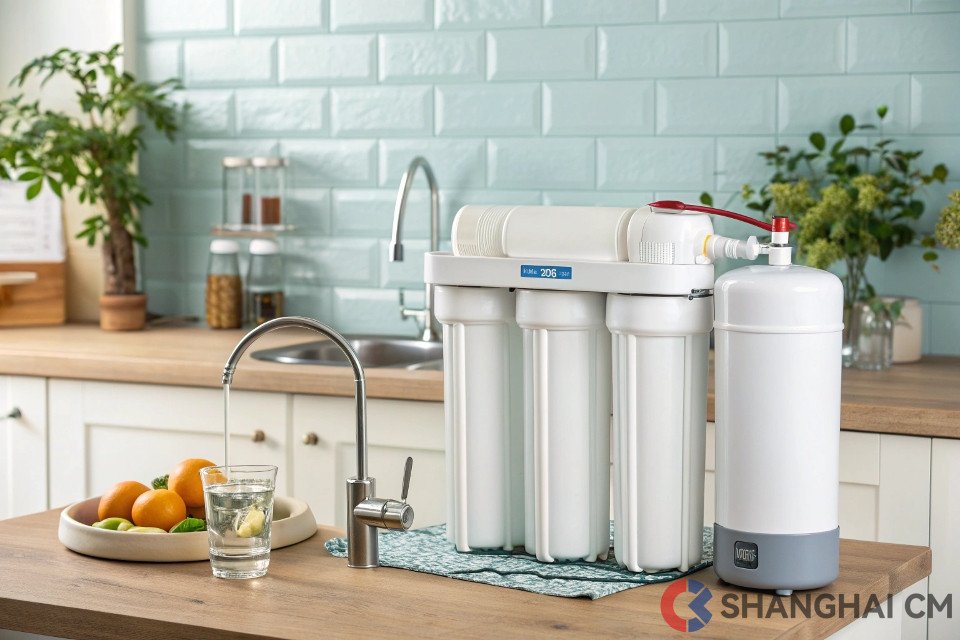
Add specialized pre-filters or post-filters for specific contaminants like hydrogen sulfide, iron, or volatile organic compounds that standard RO systems cannot remove effectively.
Identifying Chemical Contamination
Professional water testing identifies specific contaminants requiring specialized treatment approaches. Home test kits detect common problems but may miss trace chemicals requiring professional analysis.
Common chemical contaminants include chloramines, VOCs, hydrogen sulfide, and heavy metals that require specific filter media or treatment processes beyond standard RO capabilities.
Specialized Treatment Integration
Install appropriate pre-treatment components upstream of your RO system to handle specific contaminants. Catalytic carbon removes chloramines, while specialized media handles hydrogen sulfide and iron.
Consider post-treatment options like UV sterilizers or remineralization filters that address specific water quality goals beyond basic RO treatment capabilities.
Problem 15: When to Repair vs. Replace Your RO System
System age, repair costs, and performance levels determine whether repairs make economic sense compared to complete system replacement with newer technology.
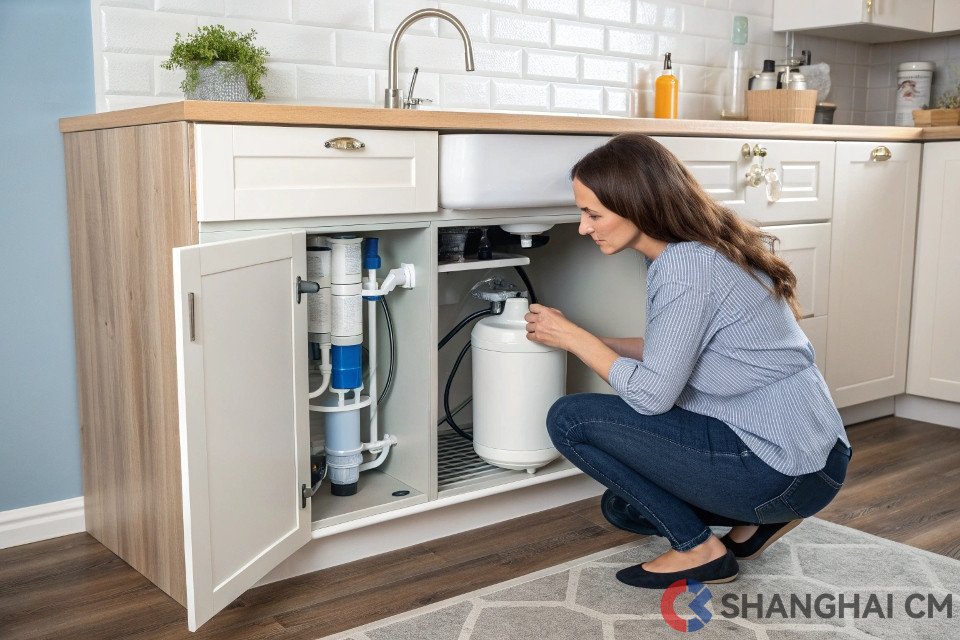
Replace RO systems over 10 years old or when repair costs exceed 50% of replacement costs. Newer systems offer better efficiency, reliability, and performance than older technology.
Economic Analysis Framework
Calculate total ownership costs including repairs, maintenance, and operating expenses over expected remaining system life. Compare these costs to new system purchase and installation expenses.
Factor in efficiency improvements and reduced maintenance requirements of newer systems when making replacement decisions. Modern systems often pay for themselves through reduced operating costs.
Performance Threshold Guidelines
Replace systems producing less than 75% of original production rates or requiring monthly repairs to maintain basic function. These systems have reached end-of-life conditions requiring replacement.
Consider replacement when facing major component failures like pump motors, control systems, or multiple membrane replacements simultaneously. These repair costs often approach replacement costs.
Your Next Steps for RO System Success
Most RO system problems follow predictable patterns that you can diagnose and repair using basic tools and systematic approaches. Start with simple checks like pressure testing and filter inspection before assuming expensive component failures that require professional service calls.


